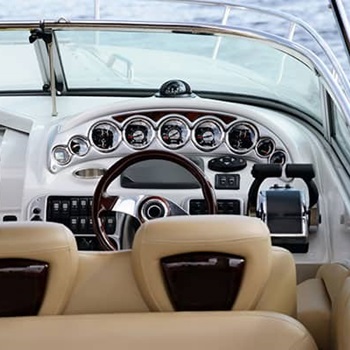
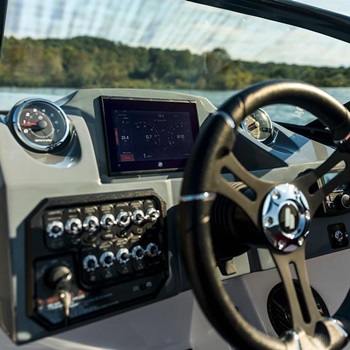
When you’re on a boat, you will always want to know exactly how fast it is going, regardless of the number of knots it may have. It doesn’t matter if you are driving a sailboat or a racer at high speeds. We are all obsessed with speed – but just as we should be concerned with it out of passion, we should also consider it for safety purposes.
That being said, to accurately measure your speed, you might want to consider installing a speedometer. This is essential to every journey, and you need it just as much as you would need a marine GPS chartplotter.
With that in mind, speedometers come in a variety of shapes and types – in which case, the installation may be different. Here is how to install a marine speedometer, depending on its type.
Installing a GPS Speedometer
 GPS speedometers represent the classic option – and some may say, the easiest one to install. Practically speaking, you have two issues to concern yourself with:
1. Finding a Good Place
When installing a GPS speedometer, you first need to find a good spot on the instrument panel of the boat. Drill a hole in the boat’s panel, and then insert the speedometer there, securing its mounting bracket on the back of the panel. You should be able to find that information in the manual of the speedometer.
2. Locate the Power Source
A speedometer will need at least a 12-volt power source. The average GPS speedometer will require a ground connection, along with two 12-volt connections. One will be used for the backlight, whereas the other will be used on the speedometer itself.
Once you are done with these two steps, you will have to crimp the terminal fittings into the power wires of the speedometer, connecting them to the power buses and the ground. At this point, the speedometer should be all ready to use.
Installing a Pitot Tube Speedometer
Pitot tube speedometers are the second most popular option – and aside from some extra hicks, they are also quite easy to install. Here is how you install this type of speedometer on your boat.
1. Mount the Speedometer
First things first, you need to mount the speedometer display, connecting the unit and the backlight to a power source. This is done in the same manner that you would with a GPS speedometer.
2. Install the Pressure Tube
After mounting the display of your speedometer, you have to figure out a good route for the pressure tube. You will be connecting the pitot tube through a very thin yet stiff tube. This will transfer water pressure from the pitot and direct it to your display. This will show you the speed of your boat.
3. Find a Good Place for the Pitot Tube
Like with the GPS speedometer, the pitot tube speedometer has to be installed in a good place on the transom. The area of choice should be clear of any trim tabs, strakes, propellers, and rudders. Plus, the tip of the pitot needs to extend until it gets at least 2 inches below your boat’s hull.
Make a hole in the boat’s transom, making sure that it’s well above the waterline. This is where your pressure tube will be passing through. Make sure that you angle the hole at 45 degrees, going downward. Pull the speedometer’s pressure tube through the hole you just made, connect it to the pitot, and then make sure it stays in place by securing it with sealant as well as cable clips. The other end of the pressure tube should be connected to the display of the speedometer, trimming it if it is necessary.
Going for Paddle Wheel and Ultrasonic Speedometers
These types of speedometers are a bit more complex – but as long as you buy the right unit and tools, there should be no issues. Here are the steps.
1. Get Your Gear
First things first, you need to buy an ultrasonic transducer or a paddle wheel, depending on your preferences. You also need a display module, along with the appropriate cables. These systems may be rather expensive, but they provide some of the most accurate readings.
2. Choose a Good Spot
Figure out where you want the transducer to go through the hull. The area should have a relatively clean flow of water, and it should not be placed behind a rudder, keel, propeller, or any other appendages. With that decided, take the boat out of the water and drill a hole through the hull where the transducer will go.
If your hull is made from cored fiberglass, you may want to drill a slightly bigger hole and then line it with thickened epoxy. This should help you seal the core before you drill the hole again – this time, at the correct size.
Spread the bedding compound of choice on the transducer flange. After that, connect a T-fitting cable on the backbone cable of the transducer and turn the unit on. Your preferences should show at this point.
Items You Will Need to Install a Speedometer
 When you install a speedometer, there are certain tools that are mandatory for you to have around:
- The actual speedometer kit (consisting of the display, pitot/transducer, and tubing/cables)
- Screwdrivers along with some small wenches (depending on the case)
- Drill that also has a hole saw
- Crimp-on wire terminals along with crimping tool
- Cable clips
- Bedding compound (3M 4200, Sikaflex, Dolphinite, etc.)
Once you have these items at hand, installing a speedometer on your boat should be quite a straightforward action.
Final Thoughts
In most cases, as long as you read the manual of the speedometer thoroughly, the process should be quite intuitive. Bear in mind that different speedometers are installed in different ways – so, choose the type appropriately. GPS speedometers are among the easiest to install, but the other types are quite accurate as well – with no actual difference in ease of installation. In the end, the choice is yours.